Case Height for 48k
Some Spectranext cartridges shipped with a case that is slightly too tall for the original 48k ZX Spectrum case shape. When the cartridge is inserted, the Spectrum may not sit completely flush with the table and can rock a little.
This does not affect operation. The cartridge works normally, but the replacement case improves the physical fit.
If you prefer to print your own replacement case, download the 3D files here:
Download the replacement 3D case files
Before You Start
You will need:
- A small Phillips-head screwdriver
- Cutting scissors or small side cutters
- The replacement top and bottom case parts
- The replacement Magic and Recovery buttons
- A flat, clear table
The LED light-pipe is very small. Work over a table so it cannot fall far if it comes loose. If you lose the light-pipe, please contact us for a replacement.
Procedure
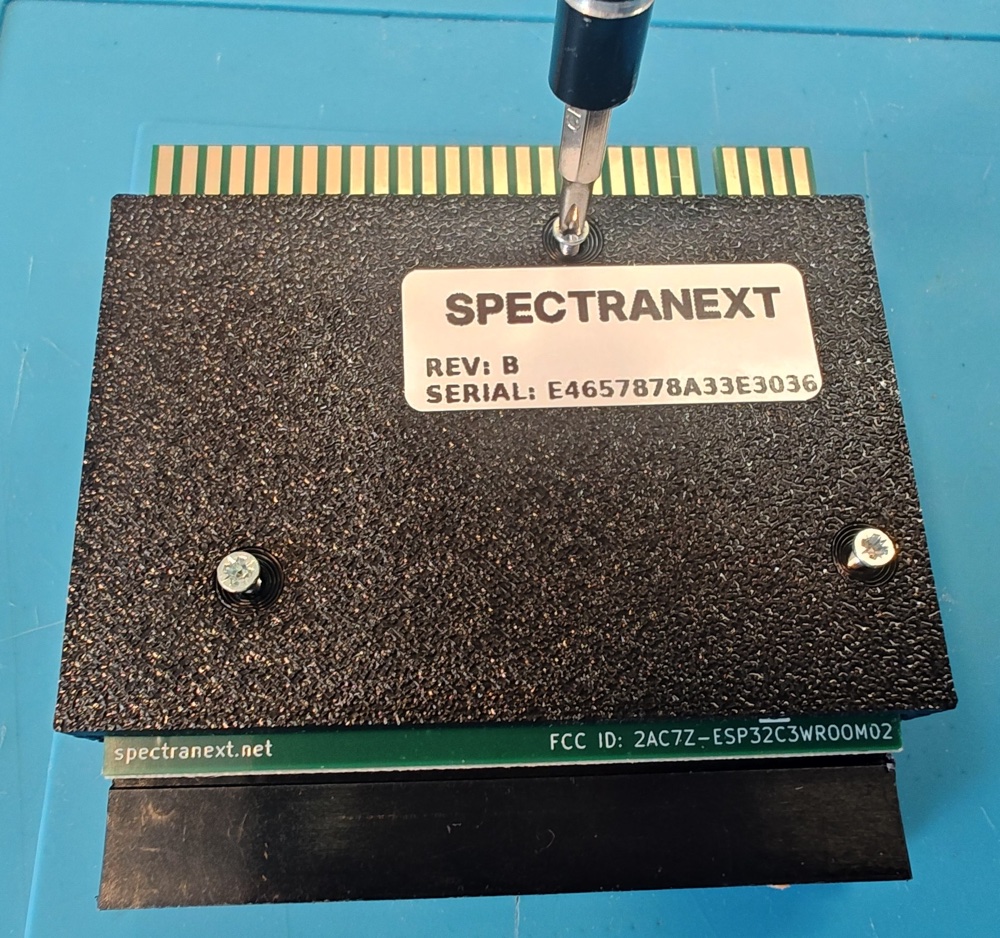
1. Remove the three screws
Turn the cartridge upside down and unscrew the three screws from the old case with a Phillips-head screwdriver.
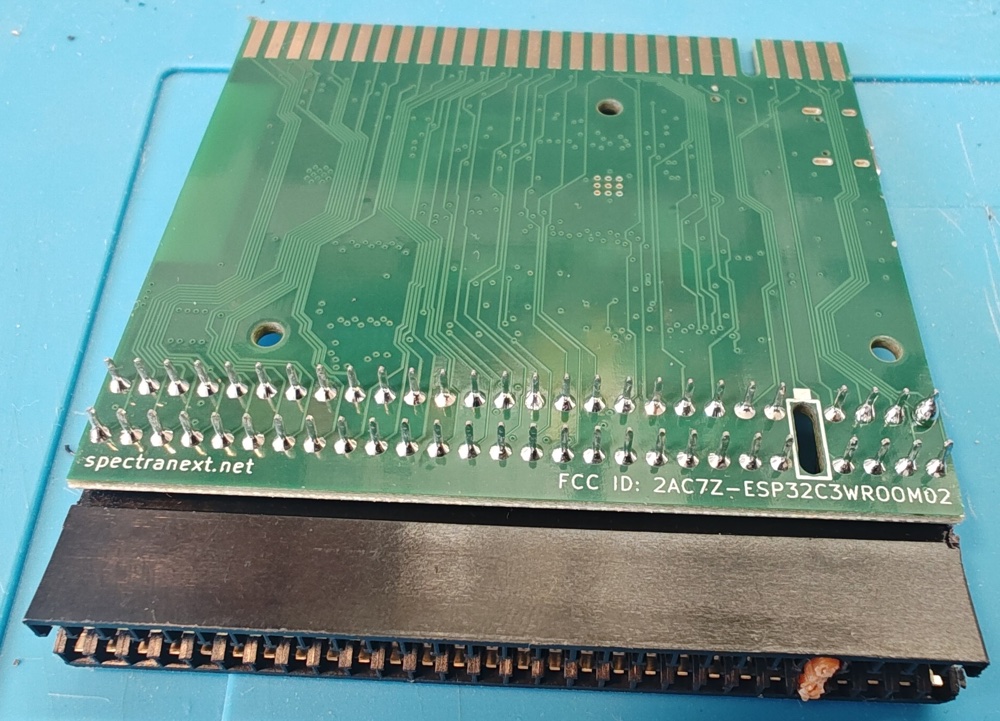
2. Lift off the bottom cover
Keep the device upside down and remove the bottom cover.
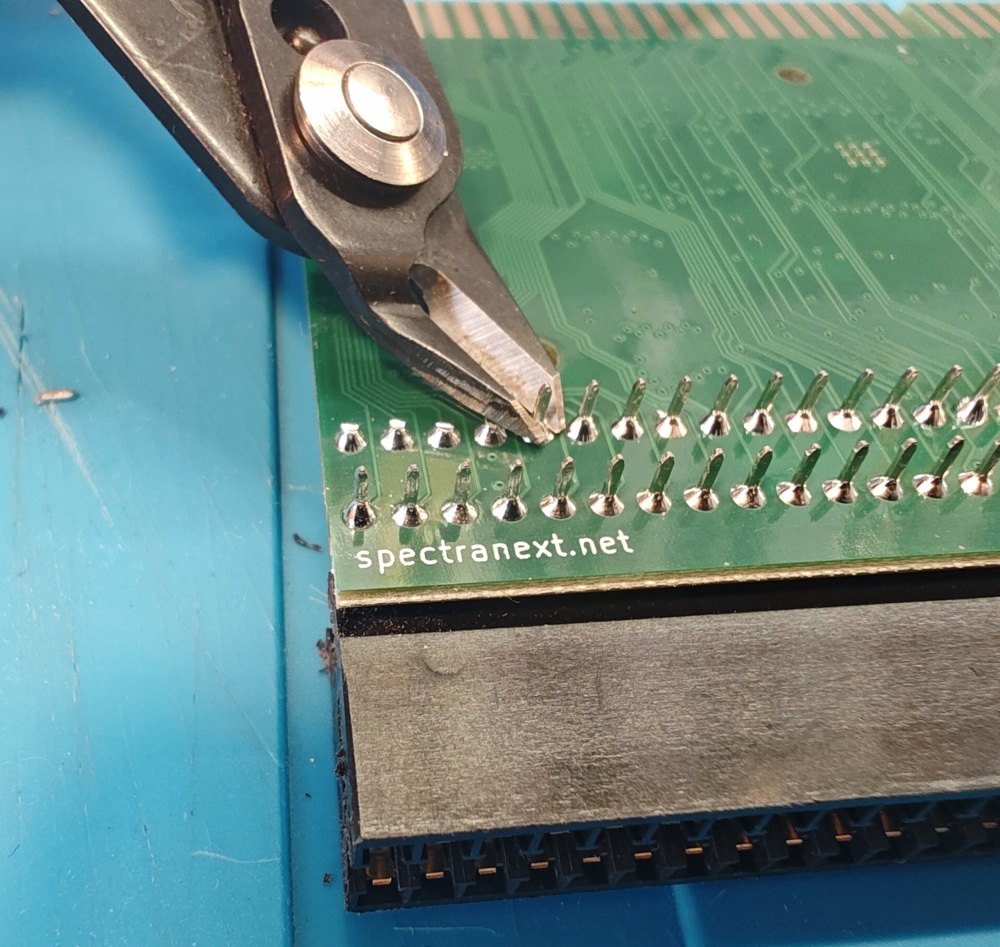
3. Shorten the edge connector soldering pins
Use cutting scissors or small side cutters to remove the excess height from the edge connector soldering pins. This should take very little effort.
Aim at the edge of the soldering bulge. You only need to remove the protruding height, not reshape the solder joint.
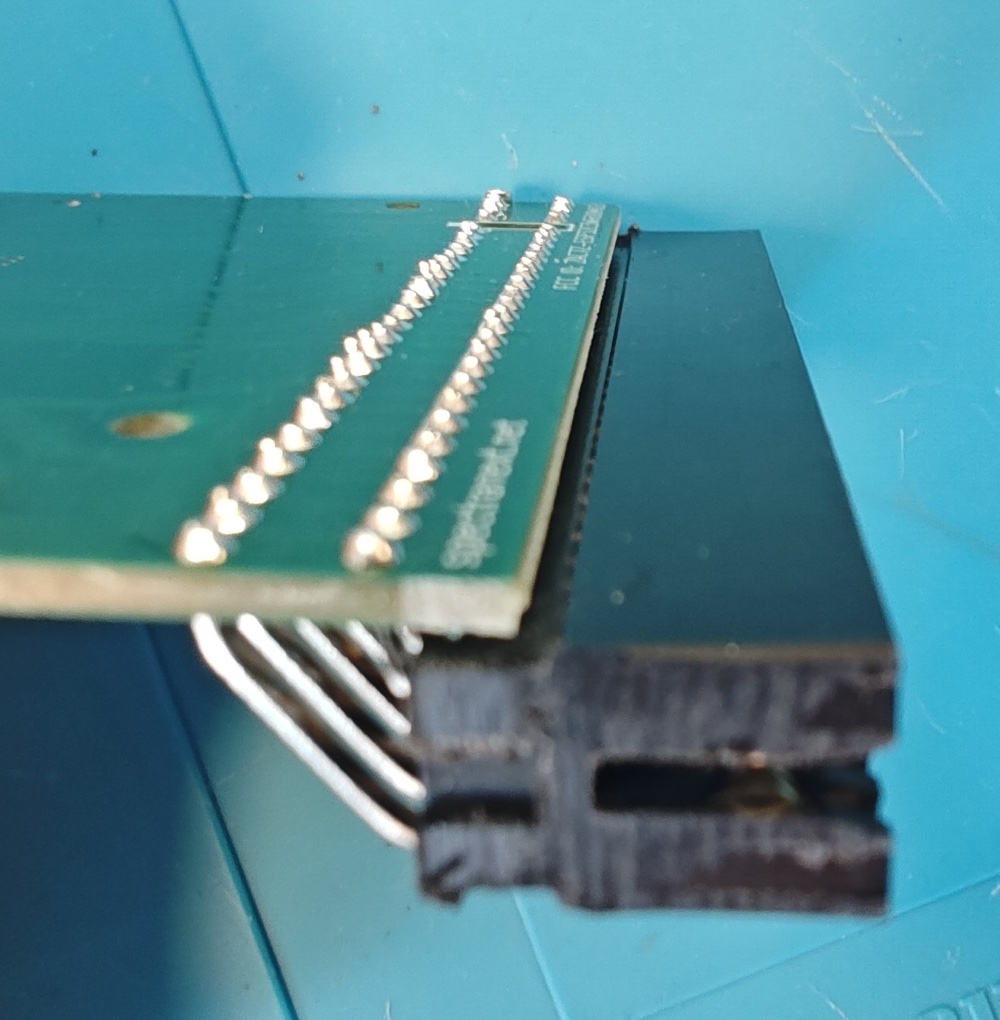
4. Check the shortened pins
After trimming, inspect the edge connector area and confirm the pins are now shorter and more even.
5. Remove the light-pipe
Remove the light-pipe from the old case by pushing it out with your fingernail. It should take no effort.
Keep the case close to the table while doing this. The light-pipe is tiny and easy to lose.
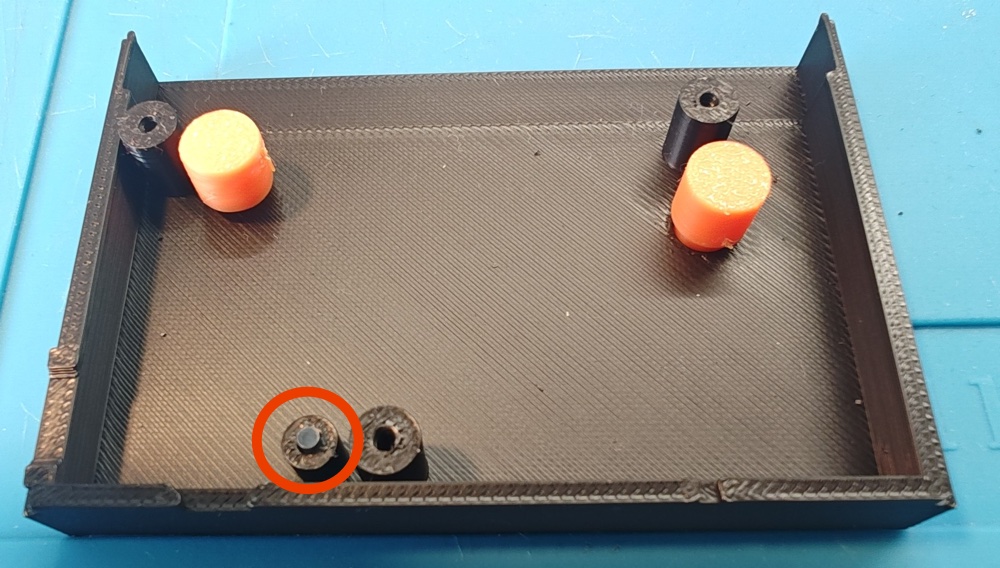
6. Insert the light-pipe into the new case
Place the light-pipe into the new top case with the flattened side facing out.
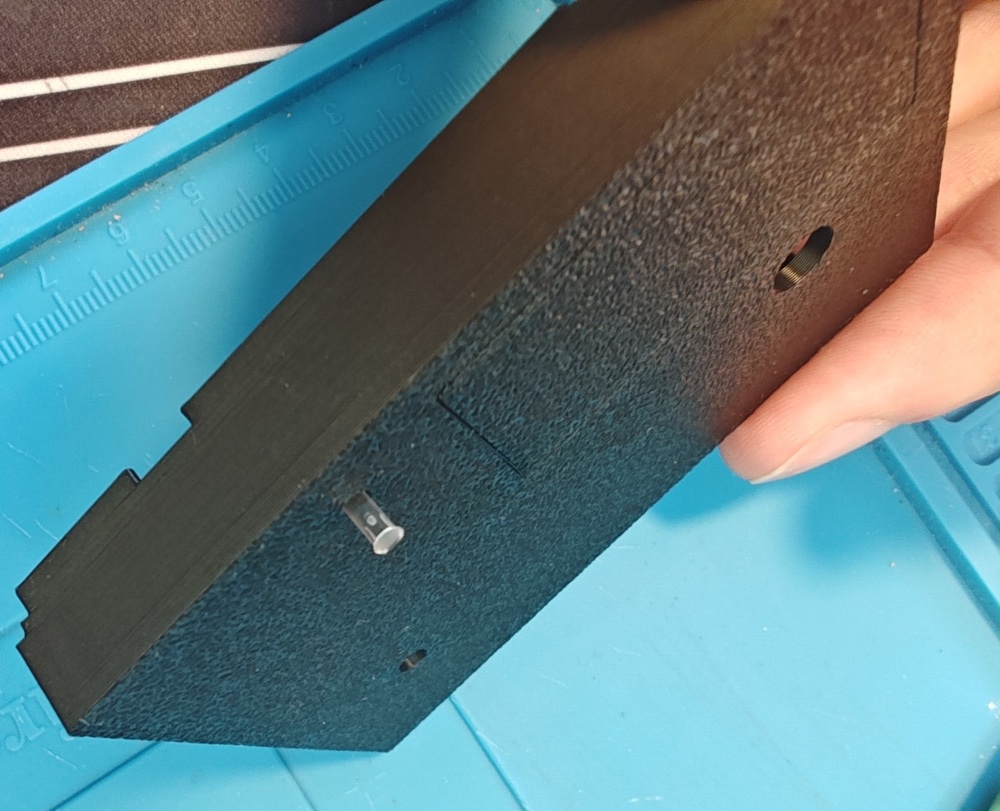
7. Push the light-pipe into place
Push the light-pipe in with your fingernail until it sits correctly. It should take no effort.
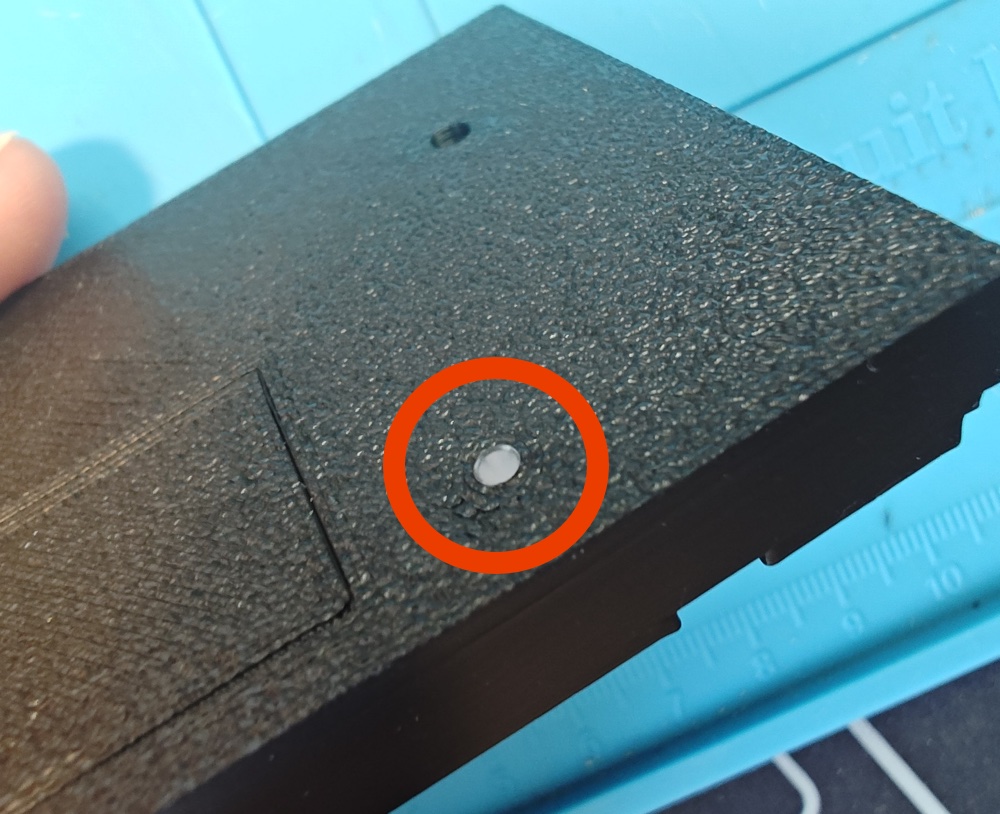
8. Place the replacement buttons
Put the replacement Magic and Recovery buttons into their respective holes while the top case is upside down on a flat table.
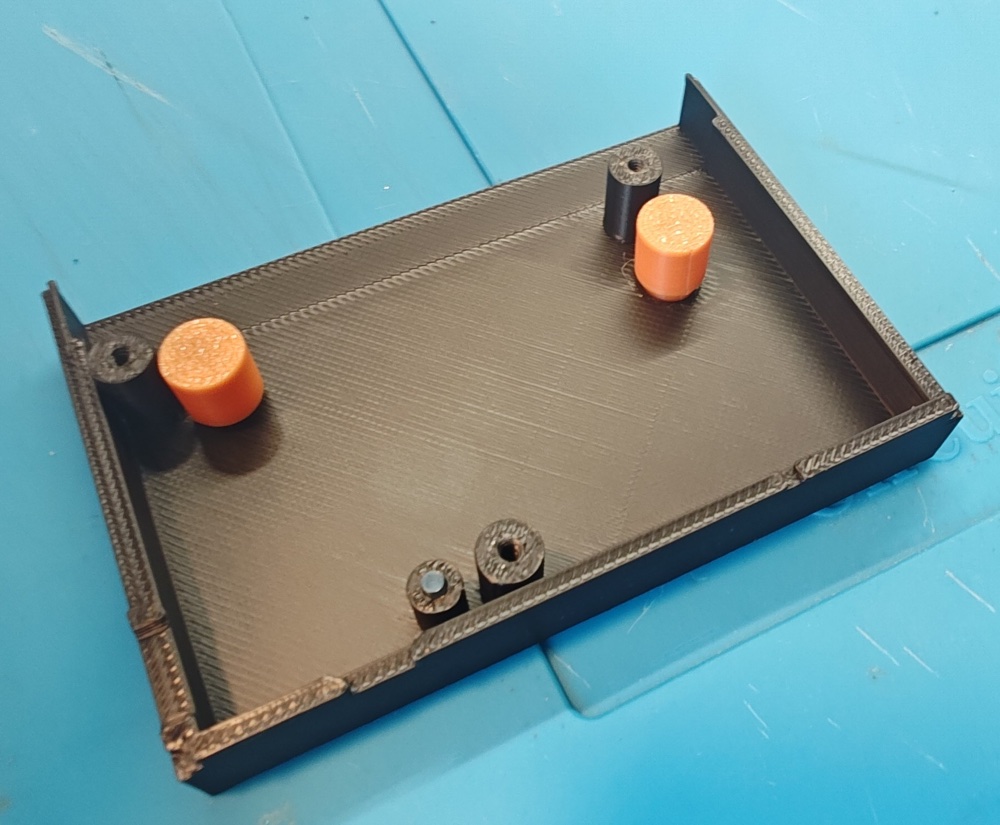
9. Place the PCB into the top case
Place the PCB onto the top case, taking care to roughly align the holes.
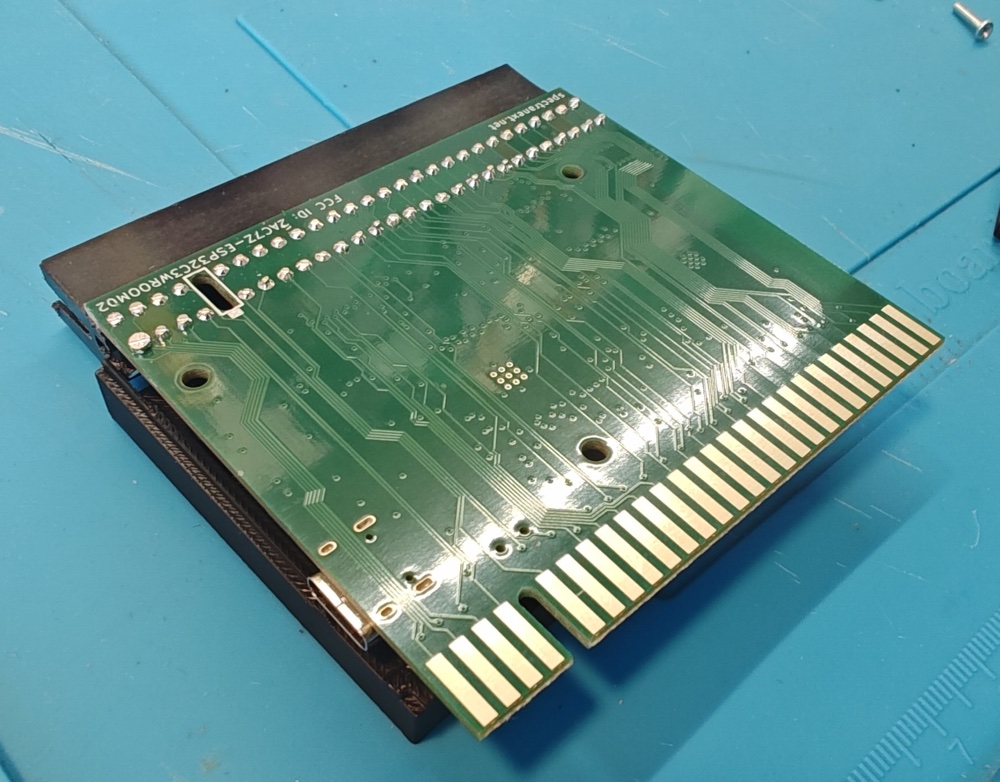
10. Fit the replacement bottom cover
Sandwich the case with the replacement bottom cover. The parts should align without force.
If something does not sit correctly, lift the bottom cover again and check the buttons, light-pipe, and screw holes before continuing.
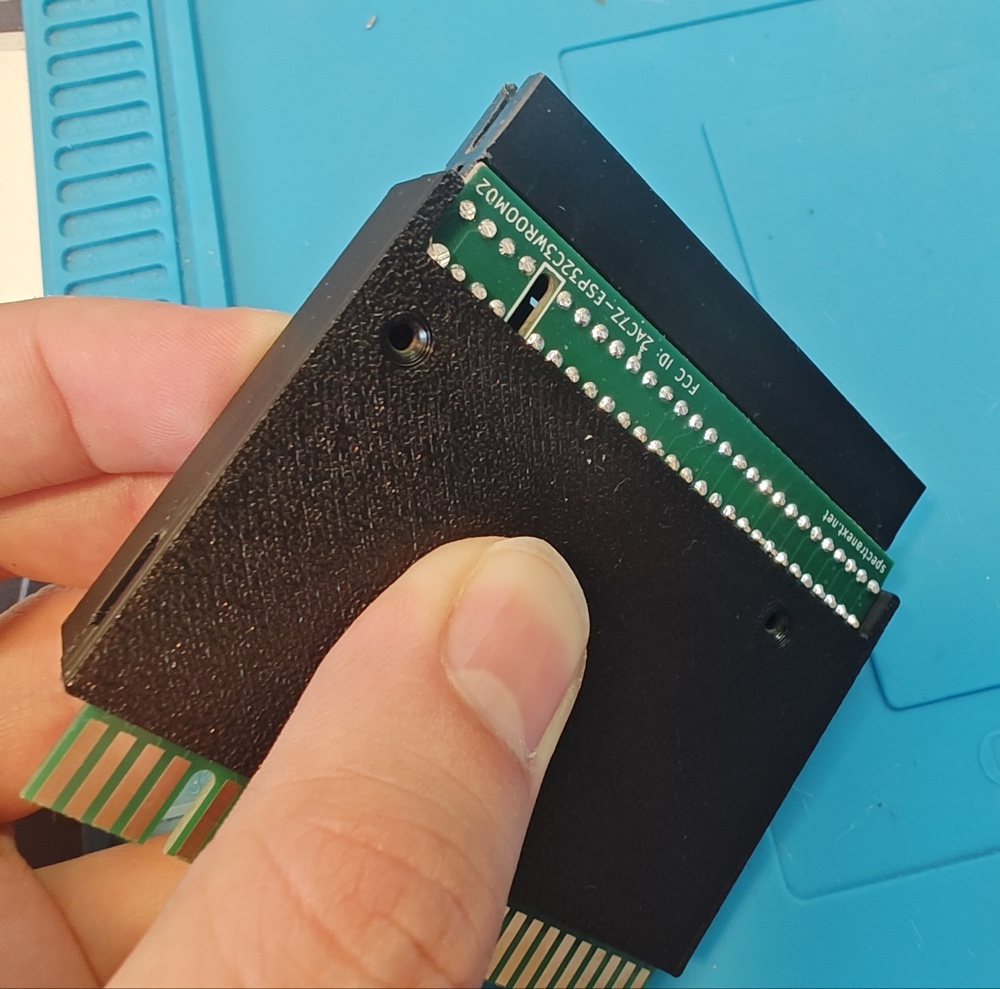
11. Screw the case closed
Reinstall the screws with the Phillips-head screwdriver. Tighten them gently until the case is closed.
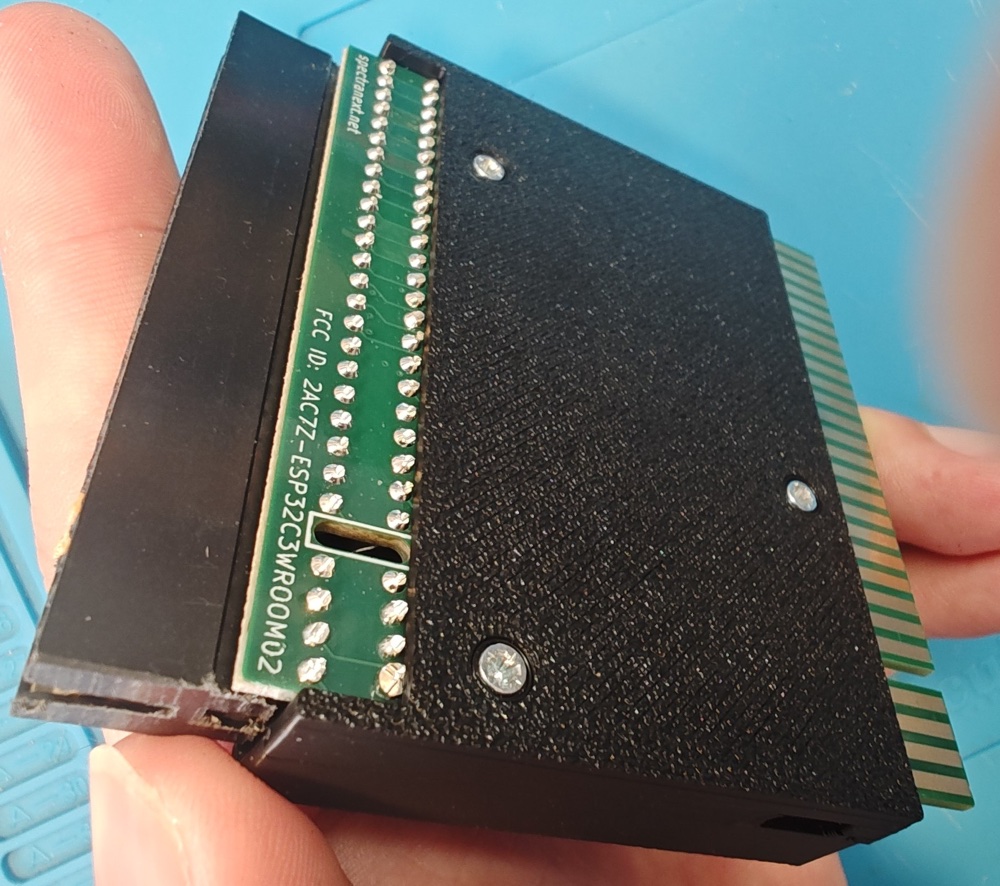
The cartridge is now ready to use in a 48k ZX Spectrum.